How to Make an Animated Video | How to Create Animations

My animated short film became a digital kid’s book through Storypanda — more on this story at the end. Follow these steps and you too will learn how to create animated videos! 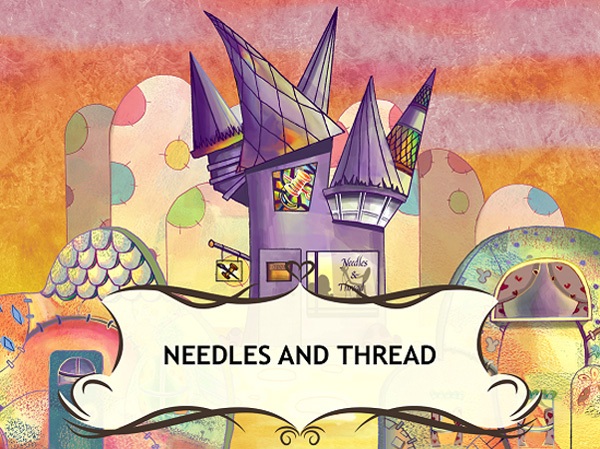
The tools I use are:
- photoshop
- premiere pro
- cartoon boom
step 1: find out what story you want to tell
first, you need a story. a good story.
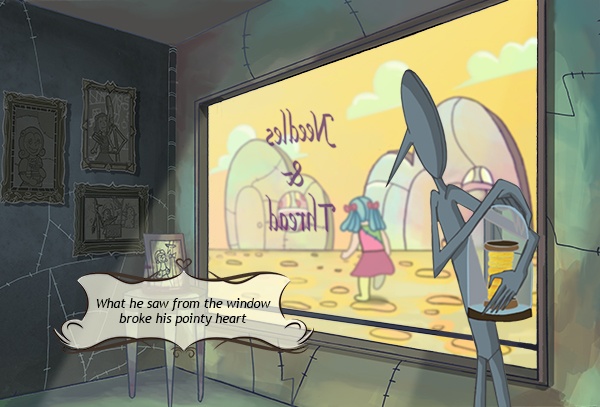
My story is based on the love my grandparents had for each other. after my grandmother passed away, my grandfather died soon after due to a broken heart.
I wanted to tell a story close to my heart and dedicate my animated short film to my grandparents.

once you figure out what you want to tell or show, you can start creating a storyboard.
You can also write a script if you prefer a more definitive plan. but if your story is still in development, start drawing and let your creativity dictate the direction of the movie.
step 2: create the characters
A good starting point is to design the characters for your animated video.
I developed my characters in a 3/4 rotation. This just means that your characters aren’t directly facing the viewer; they’re angled 3/4ths to the left or right (as you can see below): 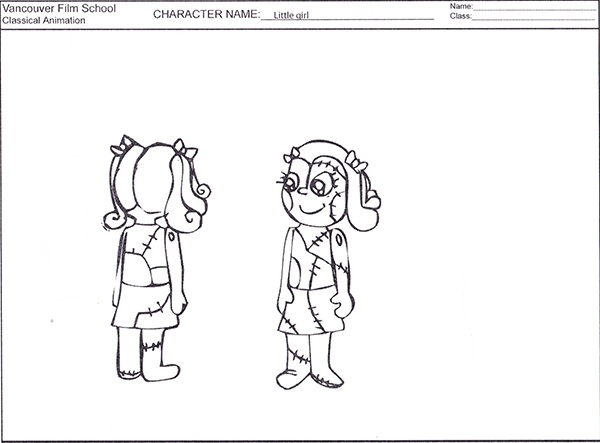 If you like, you can draw your characters from several viewpoints (such as facing towards the viewer and away from the viewer so that they can see the details).
step 3: create your storyboard
A storyboard doesn’t need to be very realistic, but I recommend drawing all the key poses. will make things much easier in the future.
Once you finish all the panels make sure to label them well for good organization. 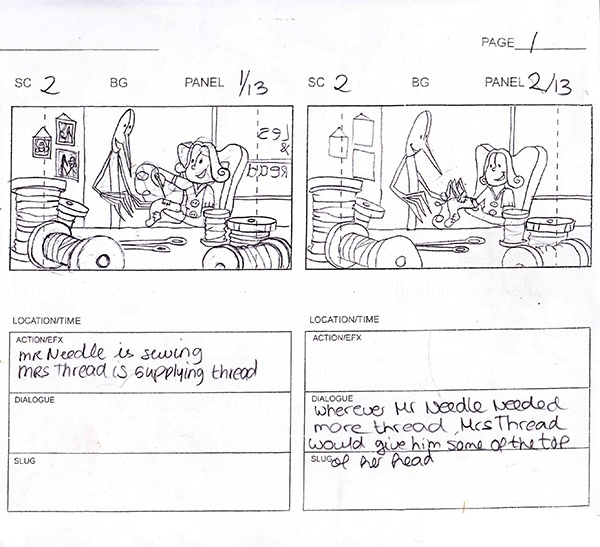
after you are satisfied with the result, you can scan them so you can have them in digital format.
When you’re done scanning your panels, you can move them into an editing program.
I used premiere pro because it worked well with after effects and photoshop.
it will be a bit tricky to separate all the panels and save them as layers in your favorite graphics or video editor. the amount of work will depend on how many panels you have drawn.
step 4: create animations
In this step, you are in the fun part of making animations.
what are animatics? they are a simple mock-up of what the movie will roughly look like.
In our case, it could just be a video of our panels in sequence to give us an idea of how the story flows.
You can start timing how the elements work together as they move. 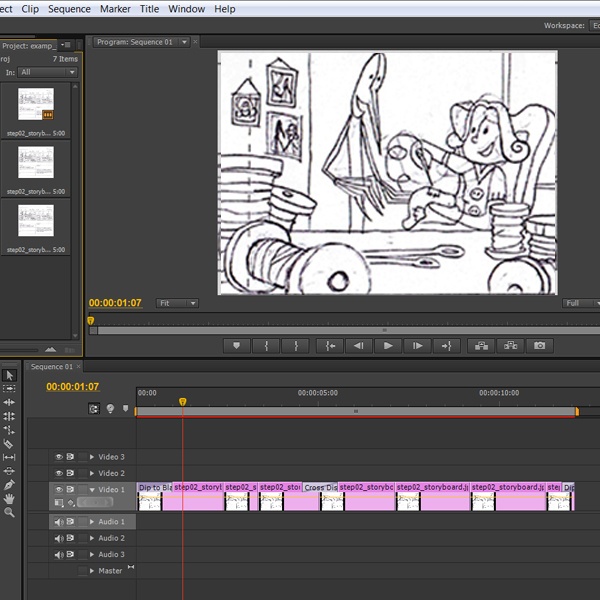
step 5: create the background design
Now that we have a solid story and the animations look good, we can start production on the video.
We can start with the background layout. 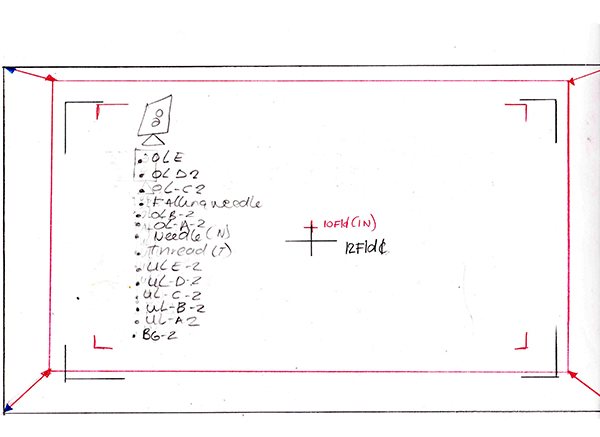
you can start drawing them in the correct field size based on your field guides.
Because you already know what your backgrounds look like, be sure to draw only what will appear in the shot. for example, you don’t need to draw an entire room when you’ll only be using part of a table.
if you’re reusing the background later in a different field size, draw a larger size background so you can use it for both without losing any pixels.
Tip: If you decided on a close-up at first and then change your mind to a medium shot, you need to move the camera around to get the shot you want. this is where the camera keys come in handy. the camera keys show the size of the field you will use for each scene.
step 6: create newsletters
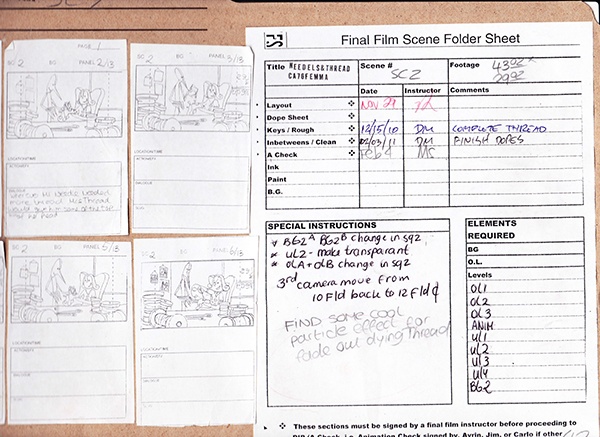
doping sheets/exposure sheets are very useful because timing is key in animation.
A well-prepared dope sheet will help you when you start animating. This is an example of a dope sheet I used for my animation: 
step 7: create rough animation
after timing the animation, you can start animating. start animating more or less. keep the lines loose and push the poses.
use the key poses you drew on the storyboards.
Write down on your dope sheet how many in-betweens you want after clean-up (more on these two processes later). Try to keep characters on separated layers. 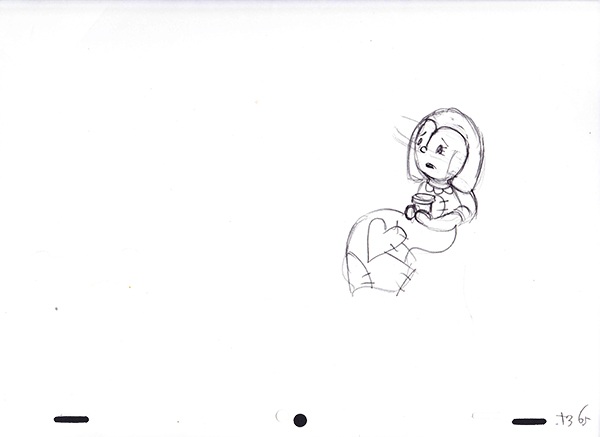
step 8: cleaning
Once you’re happy with your animation, you can start cleaning up the line art.
You’ll need to decide what type of line you’d like to use. there are different types of line art you can choose from. normal lines are the same thickness, while approximate lines are not closed and make the animations appear to dance.
cartoon lines are thick around the edge with thin lines on the inside.
With my animation, I used a normal line because it worked best with the style I was going for.
Cleaning up rough animation can be tedious work, but when you do it right it will make inbetweening (which I will talk about in the next step) and coloring much easier. 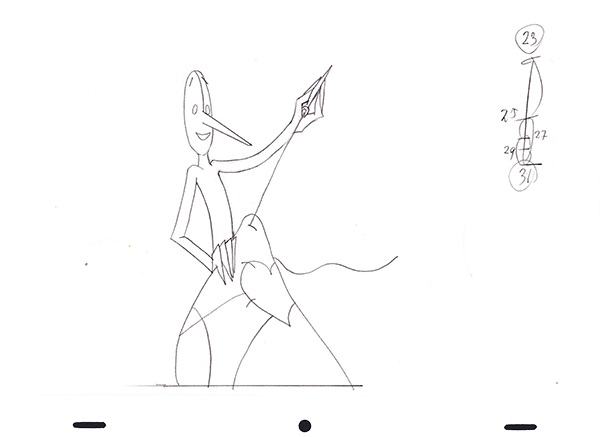
step 9: intermediation
intermissions are vital for smooth animation. the keys guide the animation but the inbetweens smooth the movements. this process is called intermediation or interpolation.
You don’t always need a lot of in-betweens.
When animating an action shot, you can get away with a few cues and an in-between or two. for subtle animations, more in-betweens give you a smoother result.
I’ll give you an example of an in-between I made using the diagram below. 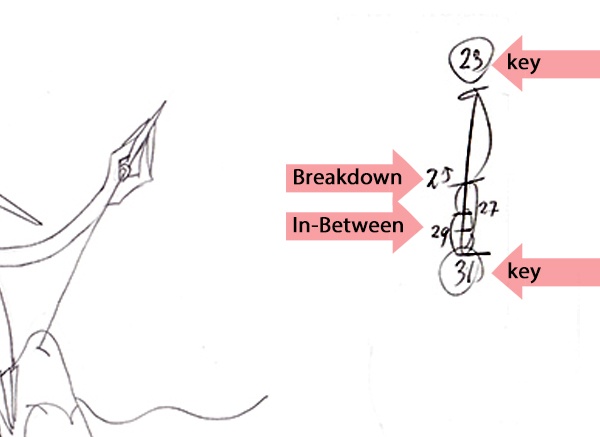
- first I put the number 23 and 31 in a lightbox.
- to add intermediate points to this, you would label it with the number 25. always start with the breakdown. in this case, the number 25 is exactly halfway between 23 and 31.
- in the lightbox you start drawing right between the two lines of those drawings and that’s how you create the breakdown.
- when you’re done with that, take drawing numbers 25 and 31 and interleave them to create number 27.
- after you’re done with that one, take numbers 27 and 31 to create the last one in scene number 29.
step 10: digital inking and background painting
It will be necessary to add background artwork behind the characters using ink. you can ink it the old fashioned way with crayons or paint, or you can scan the artwork and paint it with a program like photoshop.
my backgrounds are a mix of scanned crayons, water paints and photoshop.
It’s very important to label all your layers and keep them separate because the animation will be placed in between the layers to create depth. 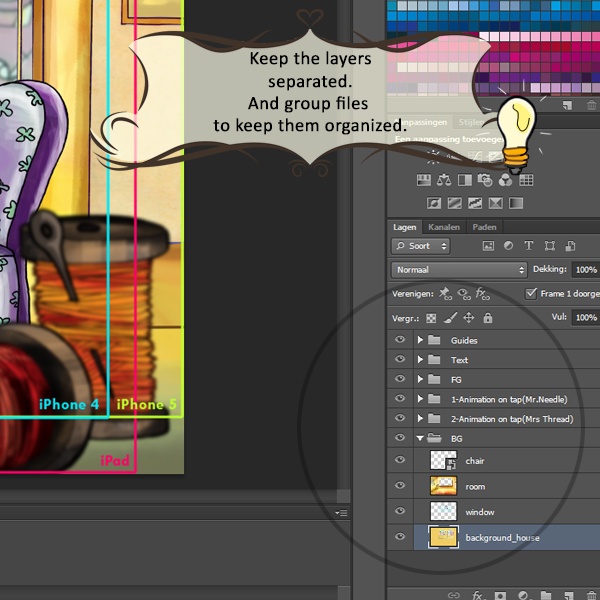
step 11: digital inking and painting of the characters
Once you get to this step, all of your animation has been cleaned up, interleaved, and is ready to color.
When I made my short, I had the privilege of using a specialized scanner to scan animations. I also used a software called toon boom to ink all the characters. This program is very easy to use and it made coloring the characters a lot easier.
Now the hard cleanup work we did earlier really pays off.
With great line work and tight lines, coloring will be a walk in the park.
If you have lots of open lines, it will be harder to use the paint bucket tool to fill all animations fast and efficiently. 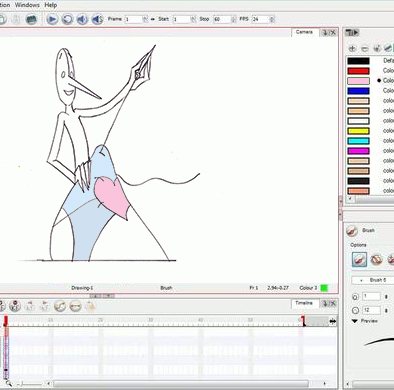
step 12: composition
When all the illustrations and characters are painted, you can use toon boom to compose them.
compositing is the process of combining all the elements into a single scene.
You can also use any other program you like to work in.
now put the whole movie together and make it flow into one.
make my short animation into a digital book
I just want to share my story of how I turned the animated short film into a digital book. I hope this story inspires you to pursue a career in animation or other creative fields.
After my animated short film gained some attention at various film festivals, a mobile editor named storypanda contacted me.
I worked with them to turn my short film into an interactive children’s book app.
For the book, I didn’t have to create any new animations. however, I had to separate the entire animation from the composite I created when I made my short animation.
all layers were labeled and I used a field guide provided by storypanda to make sure none of the illustrations were lost when viewing the book on ipad.
As an animator, I was thrilled to see my work move on the ipad.
I think digital is really a new source of opportunity for the creative industry.
Here are some pages from the book: 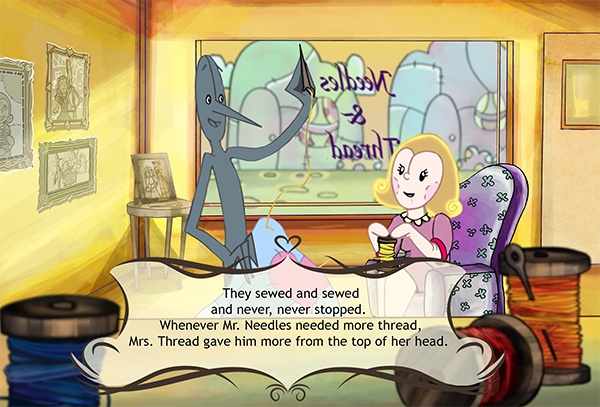

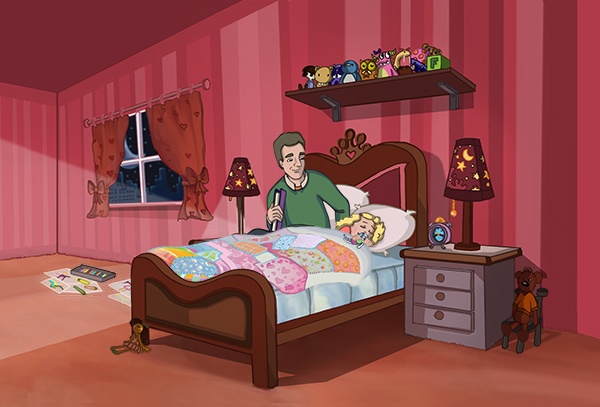
Have fun creating your own animation!